Case Study · Product Design · Desktop App
Dental Express Design Project Overview
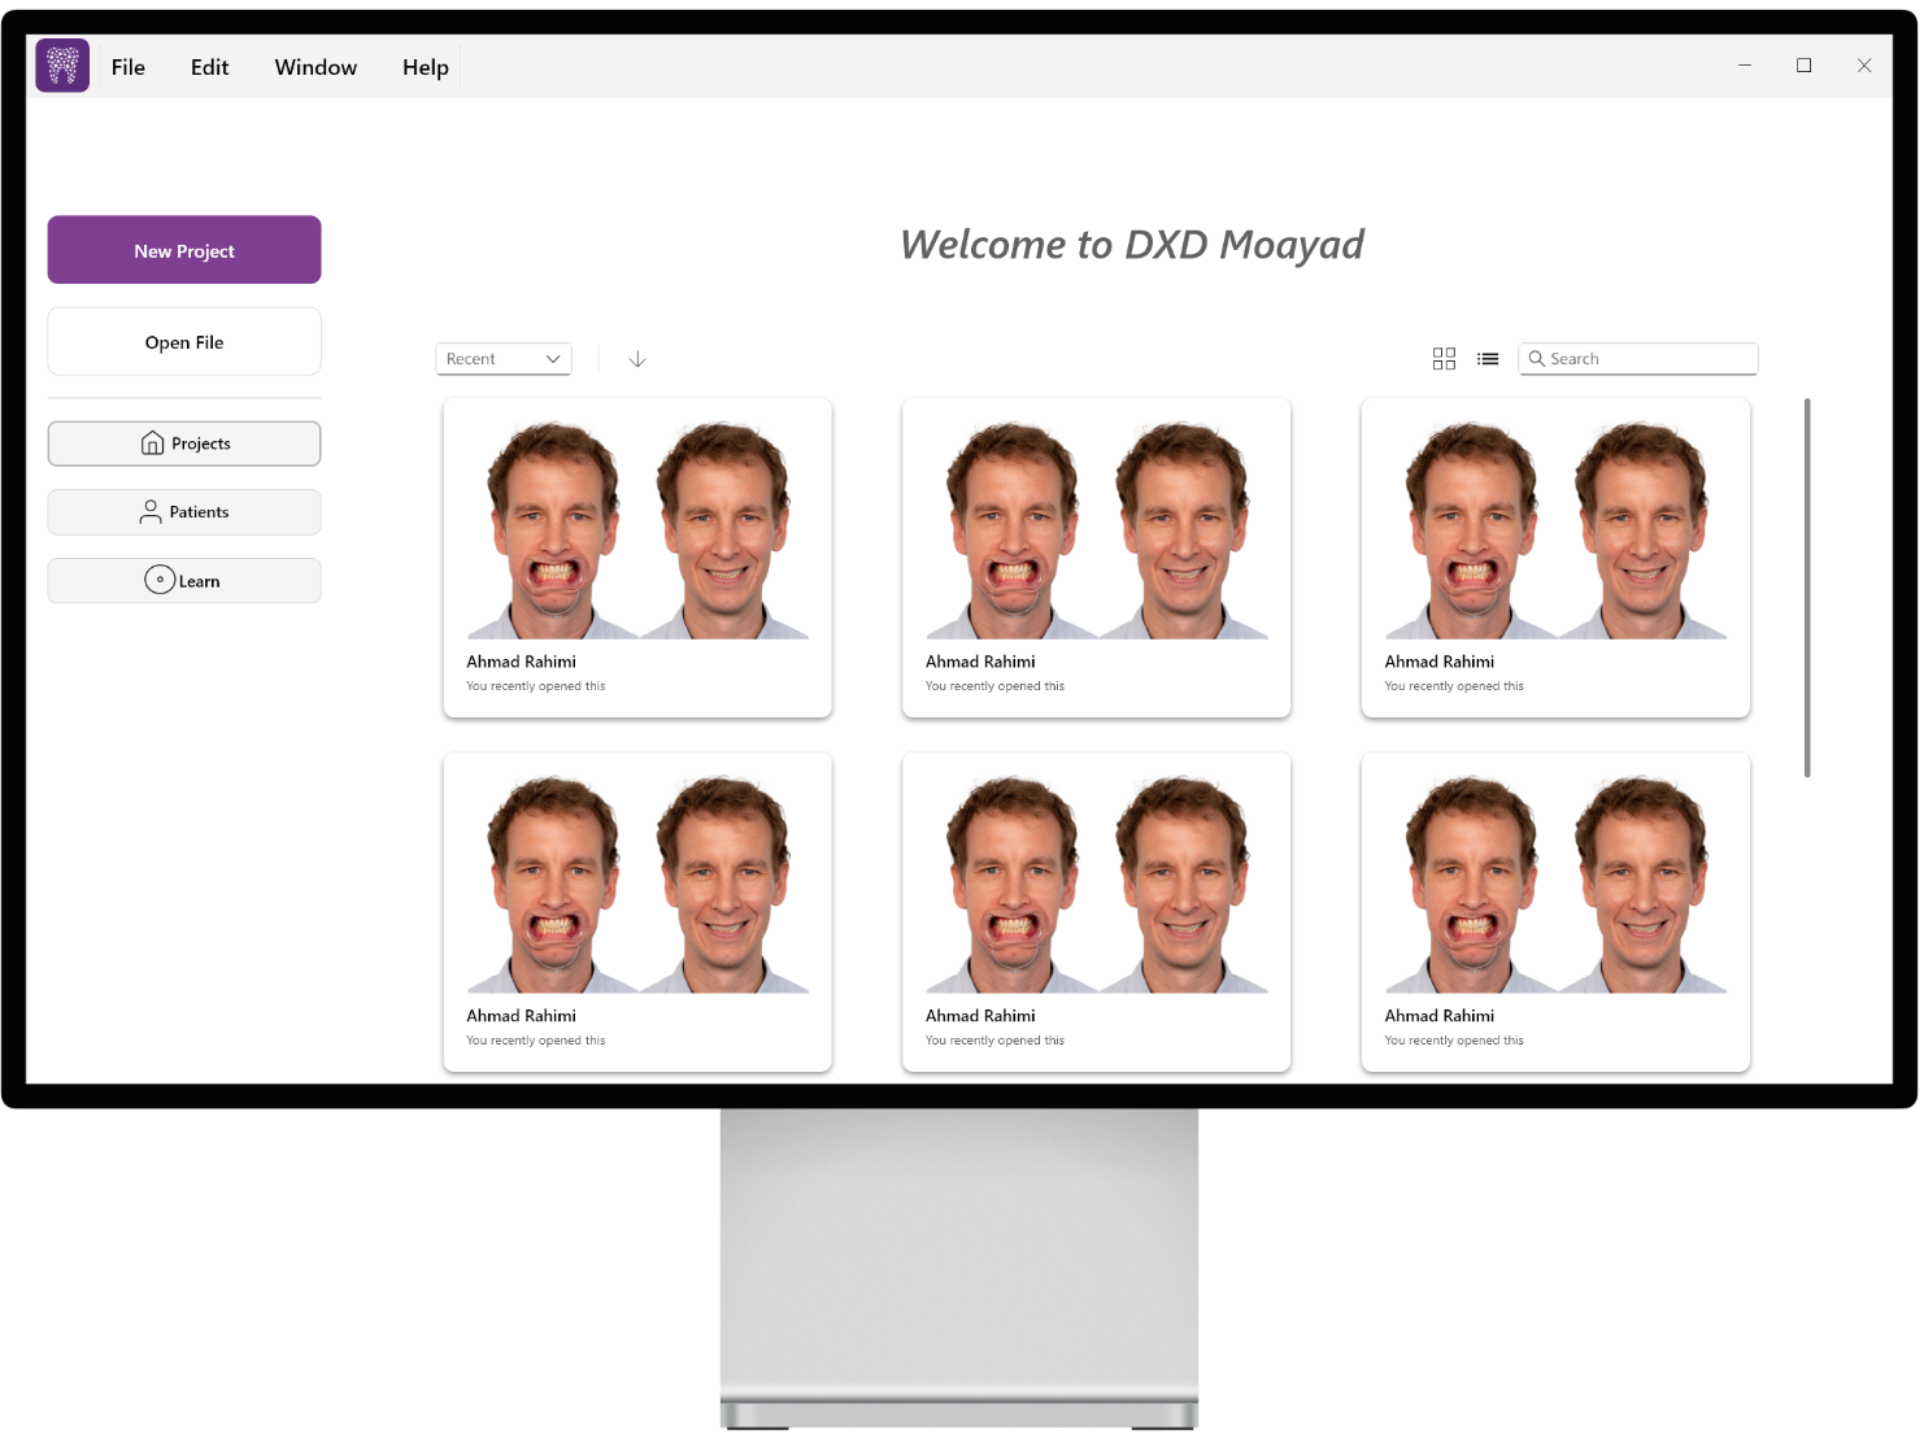
We used the Jobs-to-Be-Done approach to build a focused V1 of a desktop smile-design tool. The goal was simple: reduce setup friction, shorten the time to a first reviewable design, and increase the chance that the first printed try-in matches what was approved.
Disclaimer
I handled the full project end-to-end, from research and problem framing through product design.
Impact in Numbers
Chair-time to design
68min → 49min
First-print match
72% → 90%
Setup time
23min → 18min
Corrections per case
7 → 3.5
The Context
Clinics work fast in 2D tools; labs need precise 3D models. Rebuilding a 2D plan in 3D often caused drift, more iterations, and slower approvals.
The Challenge
The brief was to ship a resellable product that aligns clinic and lab expectations, uses standards-based exports, and produces a try-in that matches the approved plan - on a tight schedule with a two-person team.
What We Learned
The biggest workflow risk happened before design exploration. Teams first had to align records, establish scale, place landmarks, and confirm the baseline was clinically usable before any design decision could be trusted.
What Changed in V1
Key design moves to improve the experience and efficiency.
1) 2D/3D in one tool
Clinicians can make fast, precise edits with familiar 2D curves and overlays that act directly on the 3D model. Lab technicians can open the same case and continue with detailed 3D work.
Scroll to see more →
2) Faster guideline setup
Project setup spans several screens, including a dedicated Guidelines screen. Entering real measures triggers automatic placement of key facial guidelines.
Scroll to see more →
3) Quicker path to reviewable design
Two things made this faster: quicker Prepare (thanks to auto-guidelines) and a simplified, sufficient set of design tools with sensible defaults.
Scroll to see more →
How We Validated
Rigorous testing through interviews, surveys, and a pilot program.
Methods included seven interviews (2 Exocad, 3 DXD, 2 other tools) with a recent-case walkthrough and one live case for timing; an importance vs satisfaction survey; a competitive coverage grid; and a 10-case pilot for V1 measurements.
Results from the Pilot
Measuring the impact across 10 pilot cases.
First-print Match
Using one tool avoids a 2D-3D rebuild, significantly reducing mismatches after handoff.
Chair-time
A simplified toolset and sensible defaults reduced the time to a first reviewable design.
Setup Time
Automatic guideline placement and presets streamlined the initial setup process.
Manual Corrections
Better initial automated placement reduced the need for manual adjustments.
Relevant Links
Explore more insights and details from this case study